

Build an event page with an RSVP form
An event page has four questions to answer, fast. What’s happening? When and where? Is it for me? How do I get in?
This guide uses Marquee, a conference template. Its speakers, schedule, venue, ticket prices and attendance numbers are placeholders. Swap in the confirmed details for your event.
Pick how people register first
Section titled “Pick how people register first”A form can collect RSVP requests. That’s all it does. It doesn’t issue tickets, take payment, track seats, stop overselling or send calendar invites.
| What your event needs | What fits |
|---|---|
| A small free gathering with manually reviewed RSVPs | A form, and an organizer who checks responses |
| Paid tickets, limited seats, refunds or check-in | A ticketing service, linked from the site |
| A private enquiry before approval | An enquiry form with an honest confirmation message |
| An online event with joining instructions | Registration, plus invites you send separately |
Swebsy handles the public pages. Hosted forms need Swebsy Hosting and the right paid plan or trial. On another host, bring your own form receiver. Ticketing and email services may charge separately.
1. Fill in a fact sheet
Section titled “1. Fill in a fact sheet”Before you edit anything, fill this in:
Event name:Who it is for:Date and start/end time:Timezone:Venue address or online format:Price, or explicitly free:Registration deadline:Capacity and how it is enforced:Organizer contact:What happens after registration:Online event? Put the timezone right next to the time. In person? Include how to get there. Don’t list a speaker or session as confirmed while it’s still a maybe.
2. Shape the pages
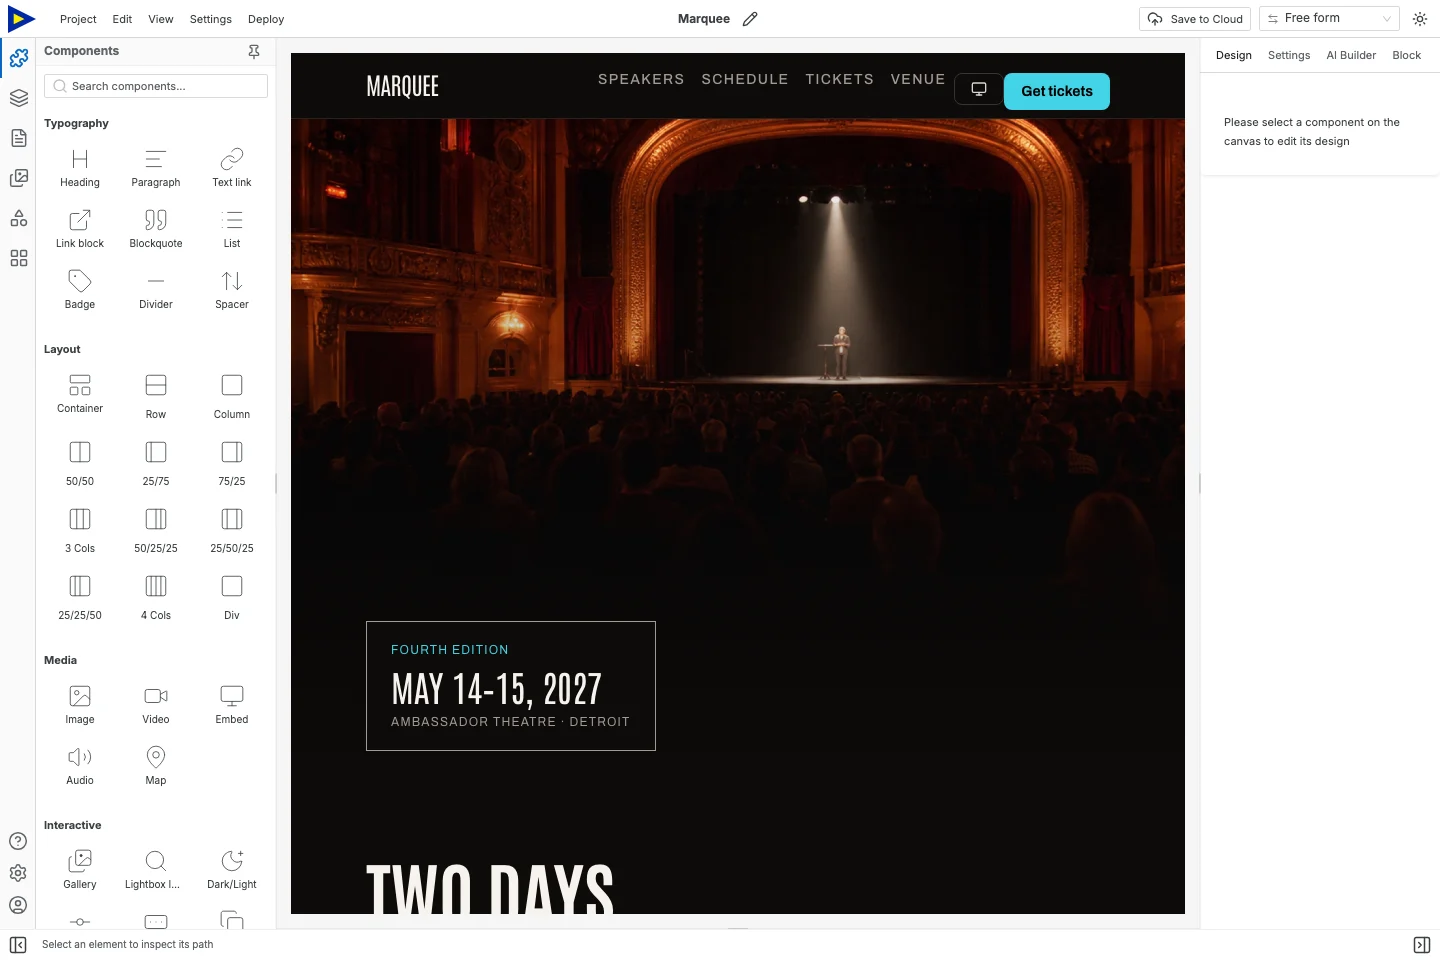
Section titled “2. Shape the pages”Open Marquee and replace the hero with the event name, date and a one-line pitch. Nobody should have to dig past a fancy countdown to find the date.
Keep the schedule and venue easy to reach. Marquee starts with Home, Speakers, Schedule, Tickets and Venue pages. A single workshop might need fewer. A conference might use all of them.
Pick one button label and stick with it: Request a place, RSVP or Buy tickets, depending on what actually happens when people click. An enquiry form should never say “Ticket confirmed.”
3. Add a small RSVP form, if it fits
Section titled “3. Add a small RSVP form, if it fits”Add a form with a name and reply email. Only add an attendance question if the organizer will actually use it. Give every field a unique Name in the component’s Settings. The visible label is for people. The Name is what gets submitted. You need both.
Use a clear button label like Send RSVP request. For an event you review by hand, a good success message is:
Thanks. Your RSVP request has been received. We will reply with availability and joining details.
Only use that once the receiving end is set up and tested. If your ticket provider confirms automatically, use its real process and wording instead.
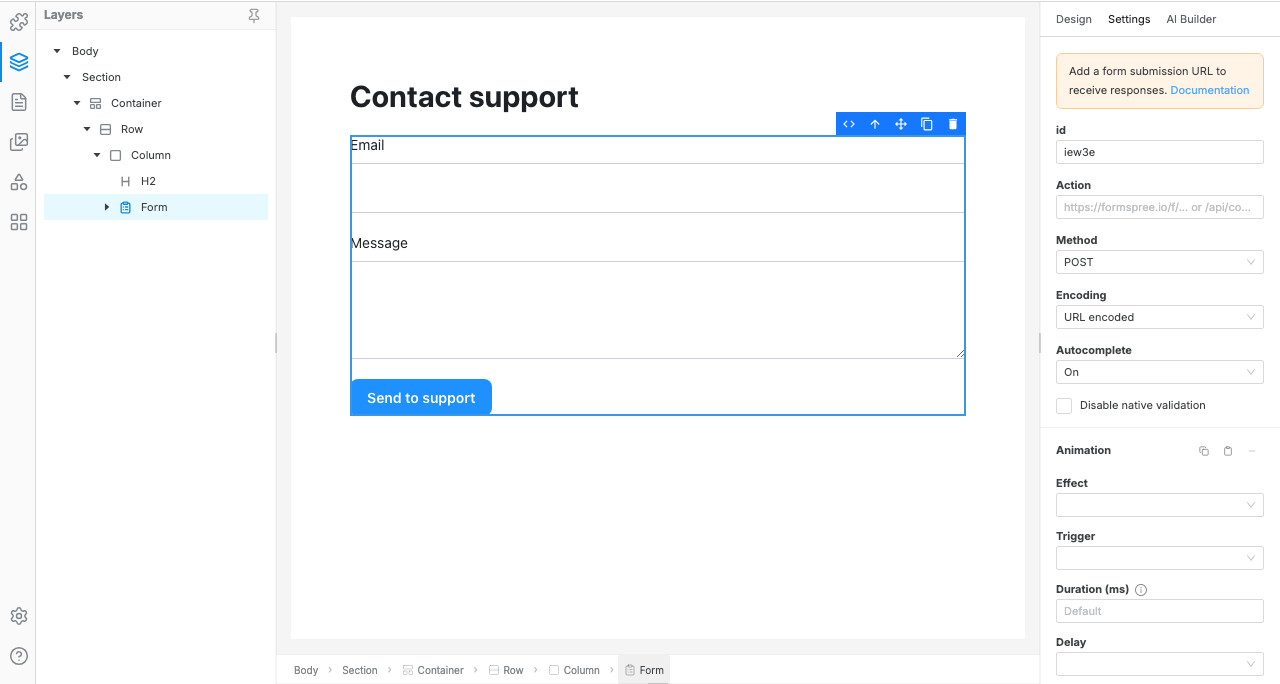
For Collect with Swebsy, publish on Swebsy Hosting and set the form up in Settings → Forms. On another host, choose Post to my own URL with an HTTPS endpoint that accepts it. See Forms.
4. Test it like an attendee
Section titled “4. Test it like an attendee”Use test details you control. From the live event page:
- Send a valid RSVP.
- Make sure the organizer can find it.
- Check the success message or redirect.
- Try an empty required field and a bad email.
- Check any follow-up or ticket email you promised actually arrives.
A success message in the editor proves nothing. The Swebsy-hosted form preview runs in test mode. A form pointed at your own URL can send a real request from Preview, so use test data there too.
For ticketing, check the real event URL, currency, dates, availability and the provider’s test checkout. An embedded button doesn’t manage seats for you.
5. Check it on a phone
Section titled “5. Check it on a phone”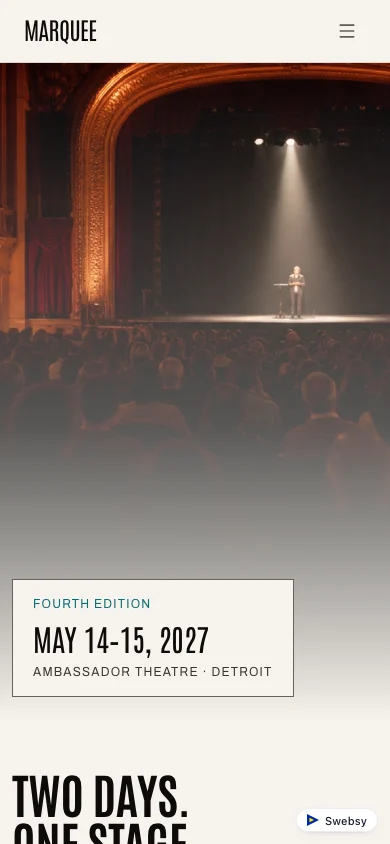
Read the program at narrow width. Long speaker names and time ranges should wrap without overlapping. Open the menu, follow the venue link, and reach the registration button with the keyboard too.
If an image carries information, give it descriptive alt text. Put the important schedule details in text, not just on a poster image.
6. Plan for changes, and for after
Section titled “6. Plan for changes, and for after”Decide who posts cancellations, room changes and registration status. When you’re full, close registration or explain the waitlist. A static page can’t count seats on its own.
After the event, swap the registration button for something useful: recordings you’re allowed to share, a recap, or details of the next one. Keep the good info up, but stop inviting people to a date that’s already gone.