

Build a multipage website and export it for your own hosting
You can build a multi-page site visually in Swebsy and export the files without paying for Swebsy Hosting. Just keep an editable project backup too. The files you publish and the project you edit are two different things.
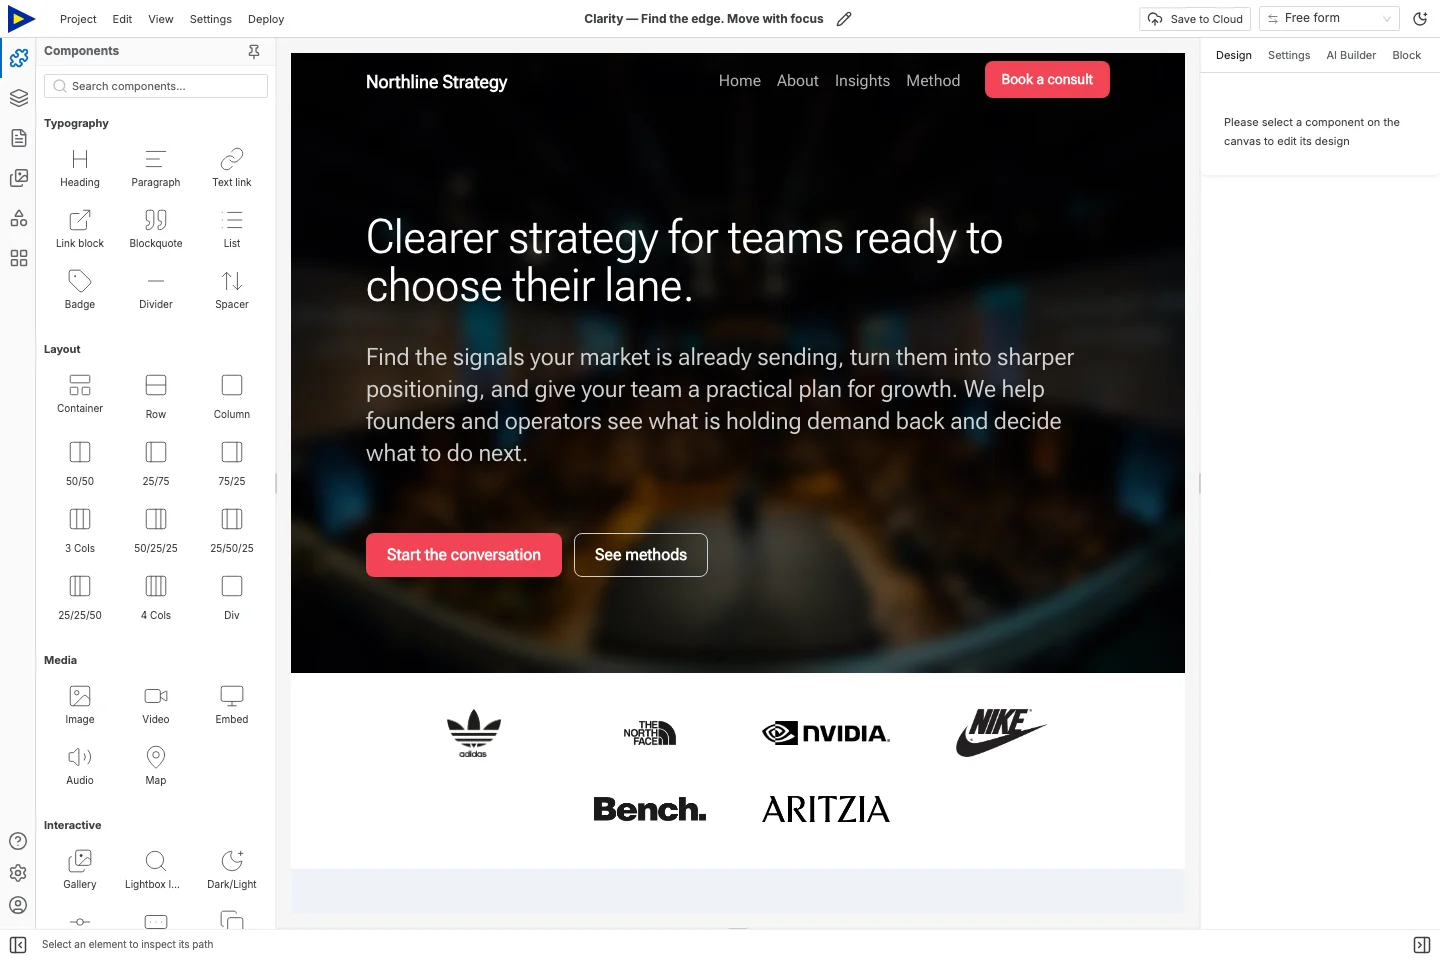
This guide uses Clarity, a consulting template with Home, About, Insights and Method pages. They’re normal editable pages. Insights isn’t a built-in blog.
Before you start
Section titled “Before you start”Decide which pages you really need and where the site will live. A basic service site might be Home, Services and Contact. Give every page a reason to exist before you add it.
Local editing, project backups and ZIP export are free. Your host, domain, forms and other outside services may cost money.
Static files don’t come with a database, checkout or form receiver. Sort those out separately. A form needs a working endpoint, and Swebsy Forms only collect submissions on Swebsy Hosting.
1. Map your pages
Section titled “1. Map your pages”Sketch a quick map before you edit:
| Page | What the visitor wants to know | Example file |
|---|---|---|
| Home | What is this, and is it for me? | index.html |
| Services | What can I get? | services.html |
| Contact | How do I take the next step? | contact.html |
The homepage is always index. Other pages have a display title and a separate
file name. Changing the title doesn’t necessarily change the published file name.
2. Add, rename and delete pages on purpose
Section titled “2. Add, rename and delete pages on purpose”Open the template, then open Pages in the left sidebar. Add a page with Add new page. Use a page’s three-dot menu to change its title or file name, or to duplicate a layout you want to reuse.
Keep the homepage. Delete other template pages only after you’ve moved anything you want to keep. Check the navigation again after every deletion or file-name change.
The individual controls are in Pages & navigation. To reuse shared navigation, see Symbols.
3. Link for the host you’ll actually use
Section titled “3. Link for the host you’ll actually use”If a navigation component lets you pick a page, pick it. For a plain text or button link, check its destination in the component’s Settings.
Exported pages are files at the site root. A link like ./services.html works on
any basic static server. A link to /services only works if your host turns that
path into the right page.
Paths starting with / also get tricky if the site lives in a subfolder, like a
GitHub project page. Test the final address, not just the domain’s homepage, and
keep links in line with the exported file names and your host’s rules.
Clicking a link on the canvas doesn’t prove it works. Test in Preview, then test the exported files served over HTTP.
4. Fill in each page’s info
Section titled “4. Fill in each page’s info”Use each page’s Page SEO option for its title and description. Describe what’s on that page. Don’t paste the same text everywhere.
Set the site URL in site settings before you generate a sitemap or canonical links. Don’t know the final domain yet? Come back to this before you publish. See SEO settings.
Replace placeholder copy and make sure you have the rights to your images. Upload images through the asset manager if you want them bundled in the export. An image linked from elsewhere stays an outside dependency.
5. Save both exports
Section titled “5. Save both exports”| What | Where to get it | What it’s for |
|---|---|---|
| Editable project JSON | Project → Export Project | Restore it and keep editing in Swebsy |
| Static ZIP | Deploy → Export code | Publish the HTML, styles, scripts and assets |
You can’t import the ZIP back as an editable project. If you hand-edit the generated code, those changes don’t come back into Studio, and the next export can overwrite them. Keep the JSON backup.
The ZIP has one HTML file per page plus supporting folders. Some asset file names include content hashes. The export reference has the current layout and options.
6. Serve the export and check every page
Section titled “6. Serve the export and check every page”Unzip into a clean folder. Use your host’s preview, or a local HTTP server you trust. If you have Python 3, for example, run this inside the unzipped folder:
python3 -m http.server 8080Then open http://localhost:8080/. The server shares that folder while it runs,
so stop it when you’re done. Opening an HTML file straight from disk can behave
differently from a real host, especially with scripts or loaded assets.
Check that:
- Every page opens from the navigation and from its direct URL.
- Images, fonts, styles and interactive bits load.
- Narrow screens have readable text and working navigation.
- Contact and outside links go to the right place.
- Forms point to an endpoint that works on this host.
- Page titles and descriptions match each page.

7. Publish, and keep updates repeatable
Section titled “7. Publish, and keep updates repeatable”Upload the contents of the export folder to your host’s website root. Or use Swebsy’s GitHub Pages or Cloudflare Pages deploy.
Once it’s live, test the URLs again. If only an inner page breaks, it’s usually a file-name, base-path or clean-URL mismatch.
Next time you update: edit in Swebsy, export again, replace the published files. Keep the latest editable backup and a known-good export, so any future handoff includes both the project and the published site.